

Get started
Visual Electric is a professional-grade AI design tool that allows you to generate high quality images in seconds. This guide is intended to help you get ramped up quickly, by walking you through the key features and how to use them. Let's get started.
Workspace
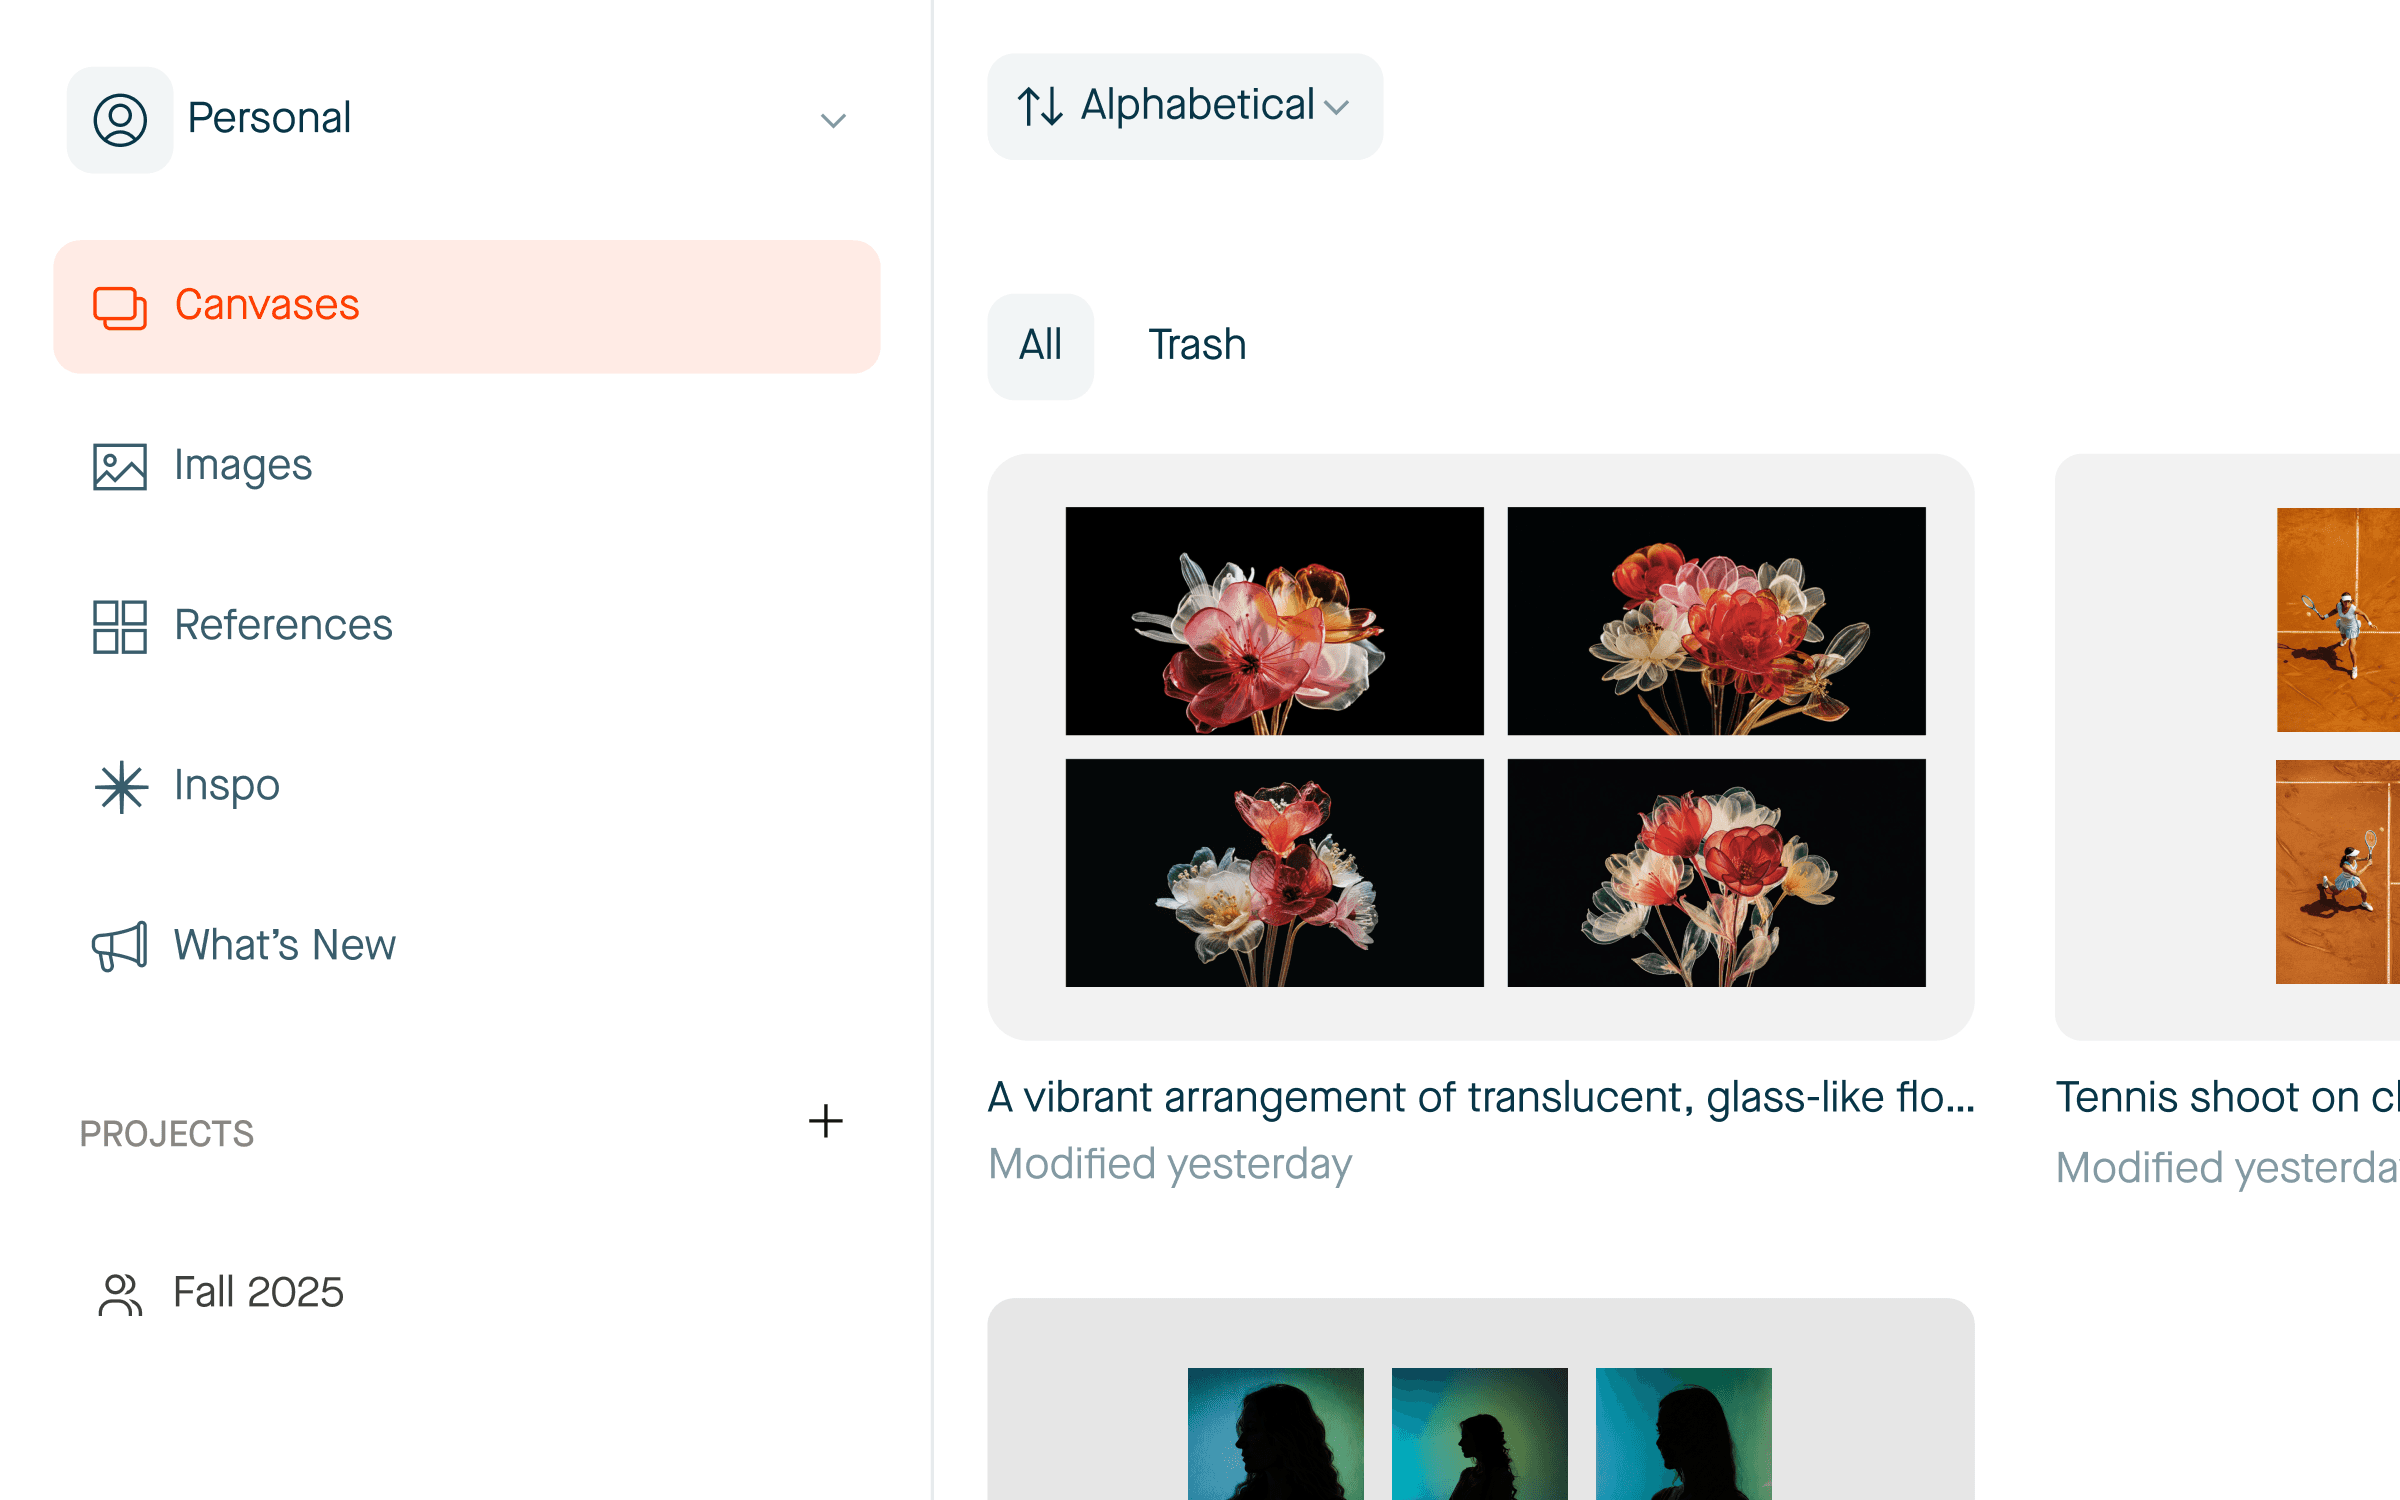
Your workspace is a shared space for you and your team. When you sign up for Visual Electric we will create a Personal workspace, but you can create as many Workspaces as you would like.
In the upper left corner, you’ll see the name of your current workspace. From here you can switch workspaces or create a new workspace. Below is the workspace navigation.
Canvases: Canvases created by any member of the workspace.
Styles: Custom styles created by any member of the workspace.
Images: A feed of all images generated within the workspace.
Inspo: A curated gallery of images created by our community.
What’s New: Product updates and announcements.
Projects: Group your canvases by idea, shoot, or campaign.
A tour of the canvas
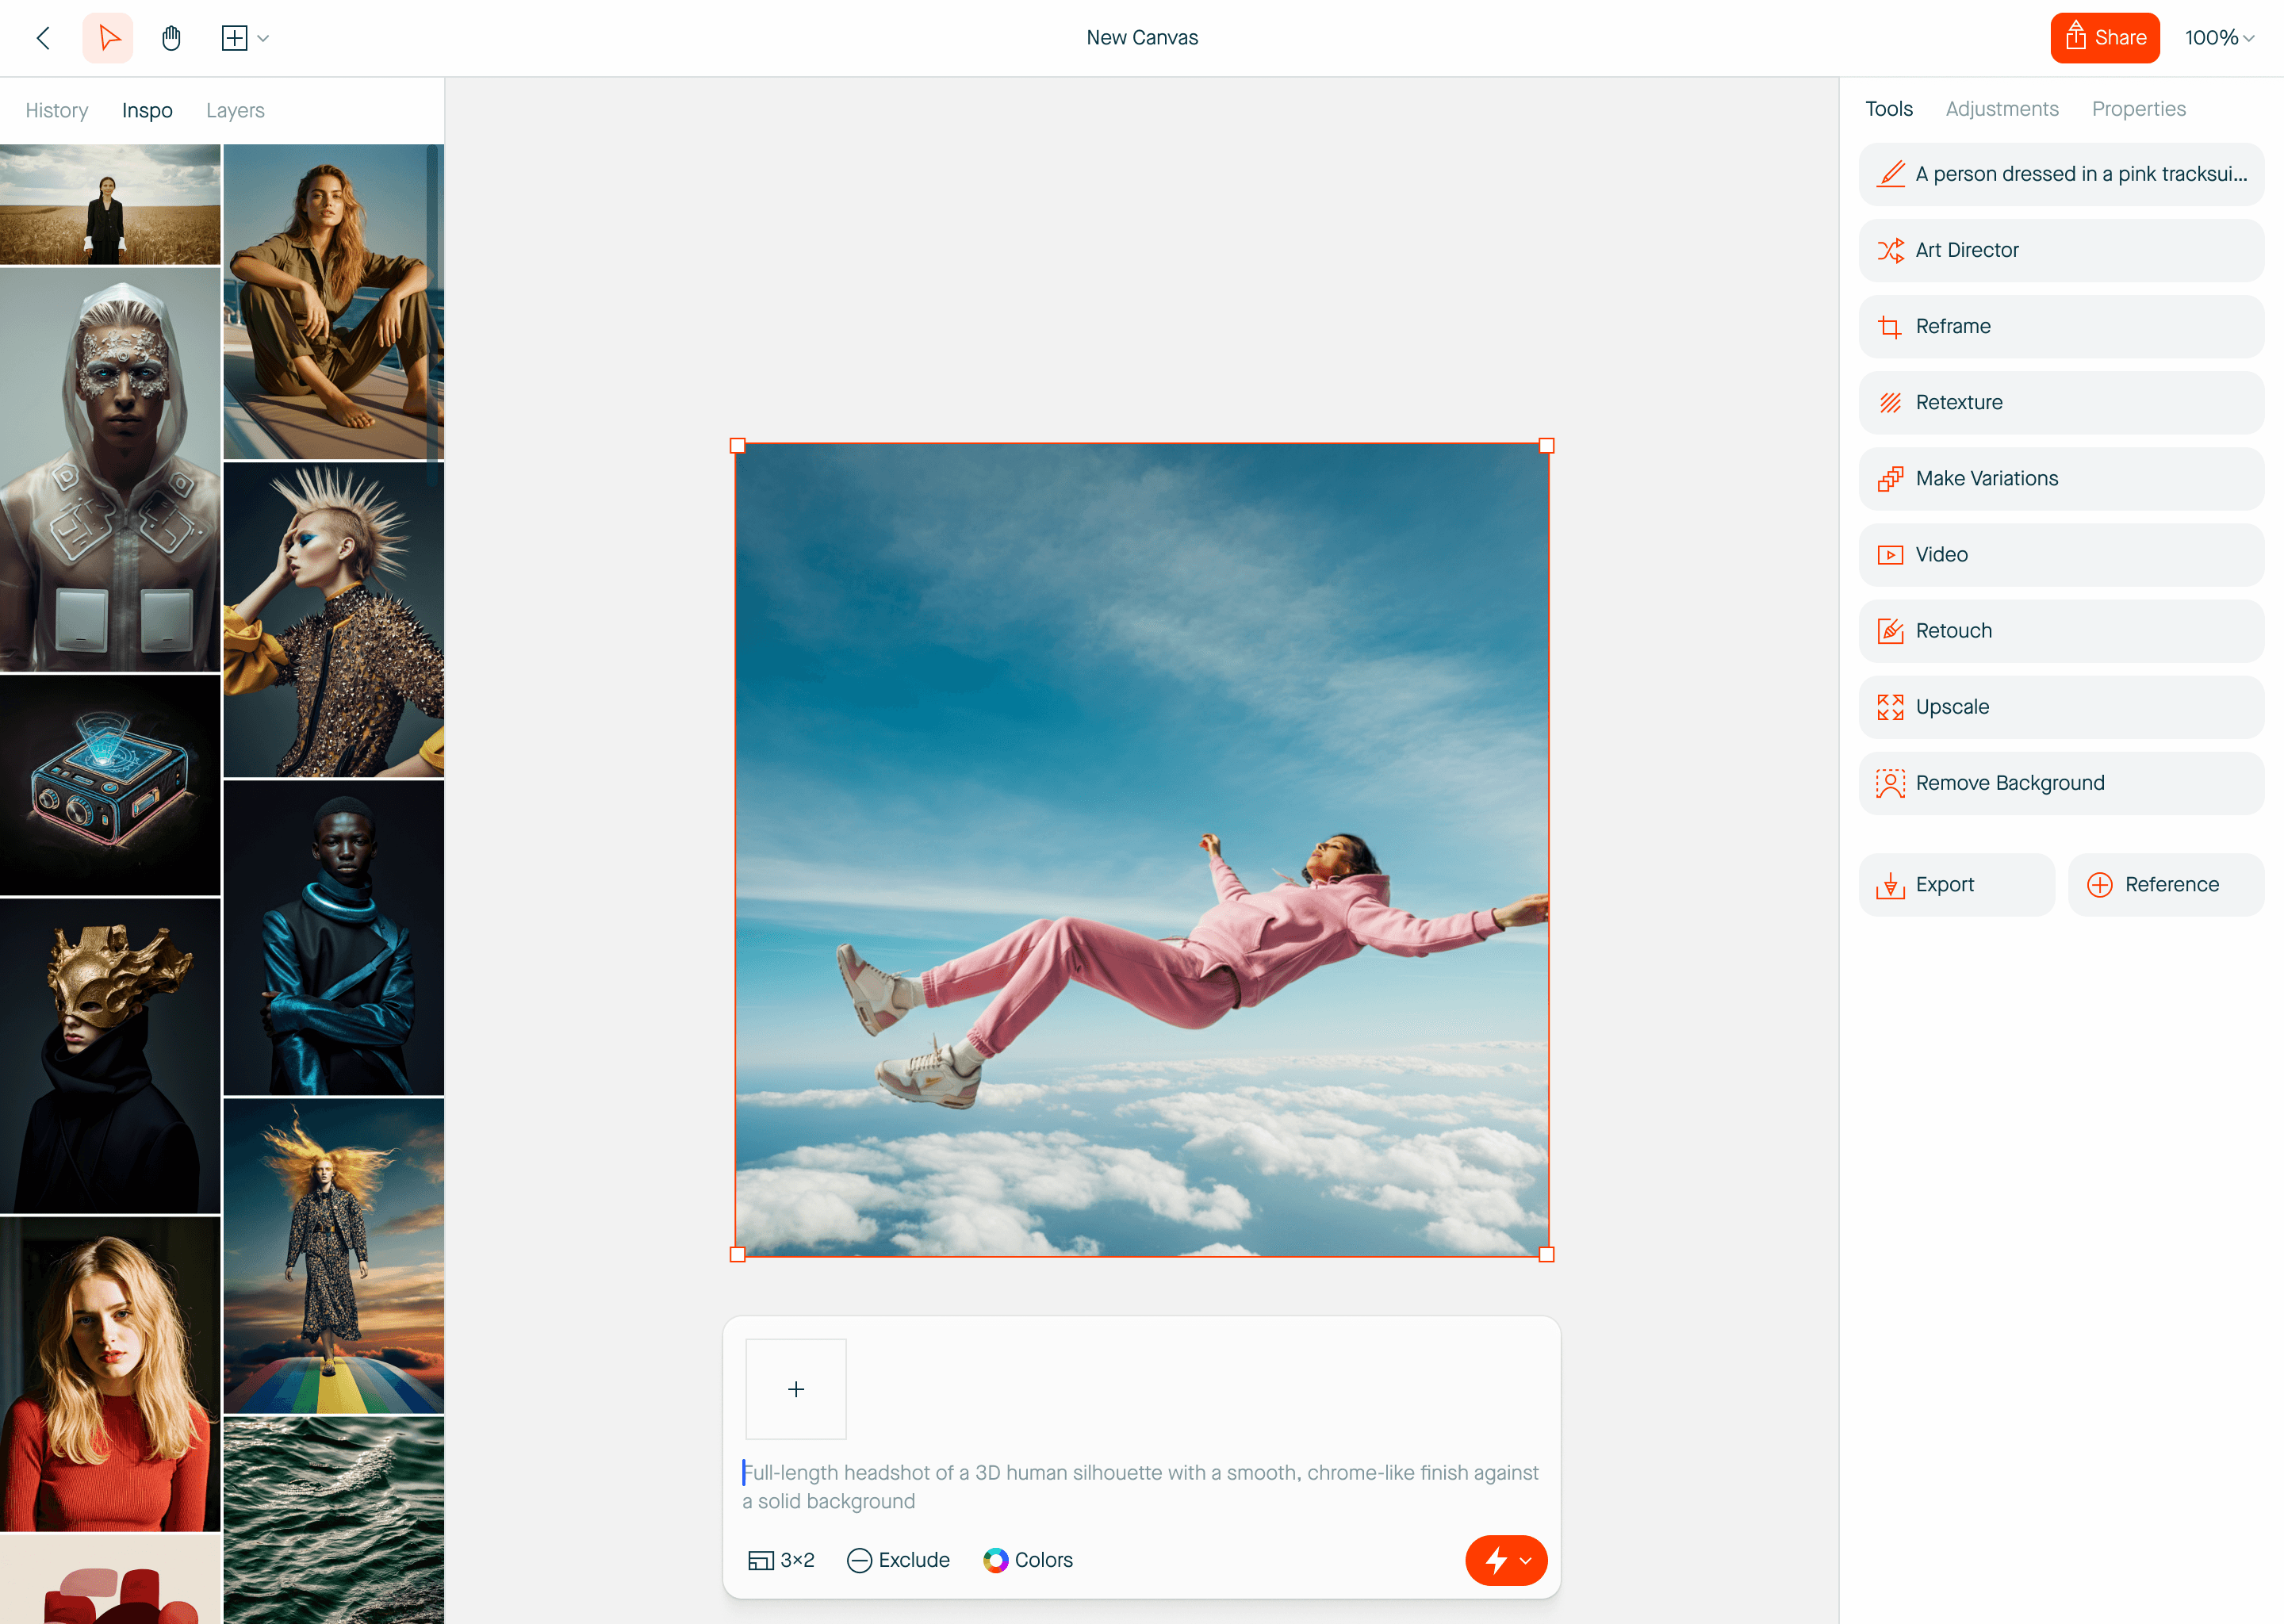
The canvas is where you’ll generate and refine your images. If you’ve used design tools like Figma or Sketch, it’ll feel familiar. If it looks new to you, we got you covered. Here’s a tour of the key elements and tools you’ll interact with.
Design tools: located at the top left of the canvas, these tools allow you to navigate around the canvas, create frames, add images, and edit content with shapes and text.
Generative tools: located on the right side of the canvas, this will show up whenever a piece of content is selected. It contains properties, generative tools, and actions you can take on the selected content.
Composer: located at the bottom center of the canvas, this is where you’ll prompt Visual Electric to generate new assets. You can read our prompting guide for best practices on prompting.
History, Inspo & Layers: located on the left hand side of the canvas, this sidebar provides easy access to a history of all images generated in your workspace, our inspo gallery, and a layers palette.
Navigate the canvas
Visual Electric uses an infinite canvas, which means you can add as much content within, and scroll both vertically and horizontally. Here’s how to navigate around your canvas.
Zooming
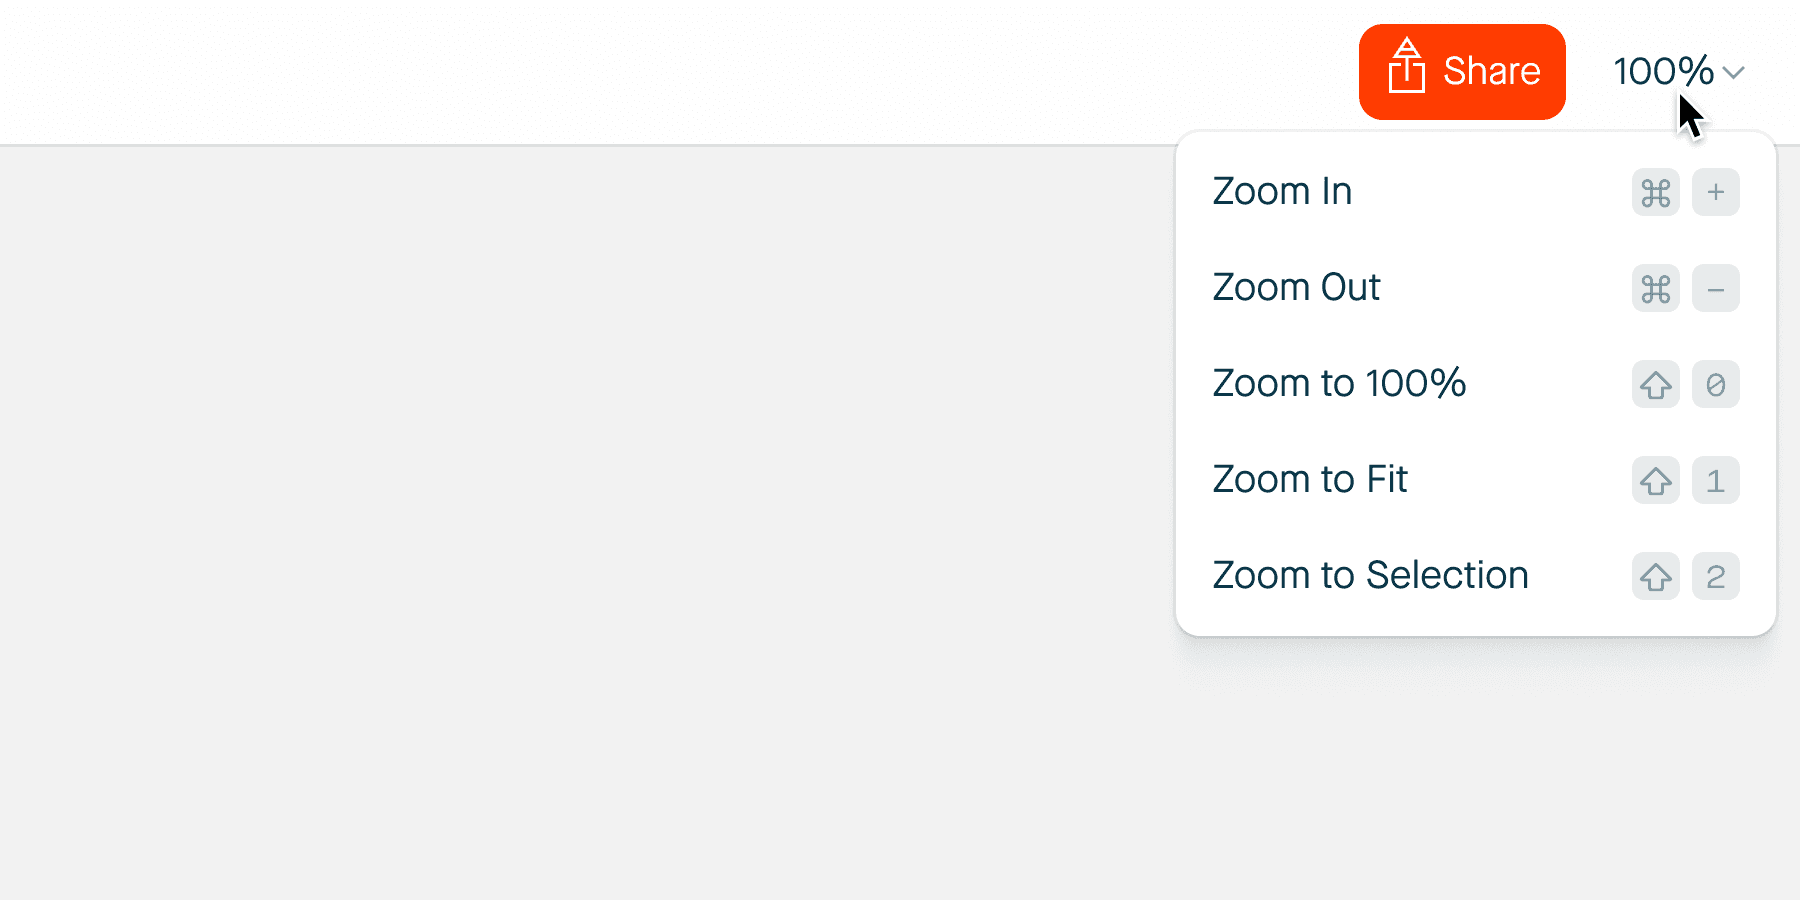
There are many ways to zoom in and out on your canvas.
Pinch using your trackpad.
Hold
⌘/CtrlScrollusing your mouse.Use the menu at the top right corner.
Use keyboard shortcuts:
Zoom in:
⌘/Ctrl+Zoom out:
⌘/Ctrl-Zoom to 100%:
Shift0Zoom to fit:
Shift1Zoom to selection:
Shift2
Panning
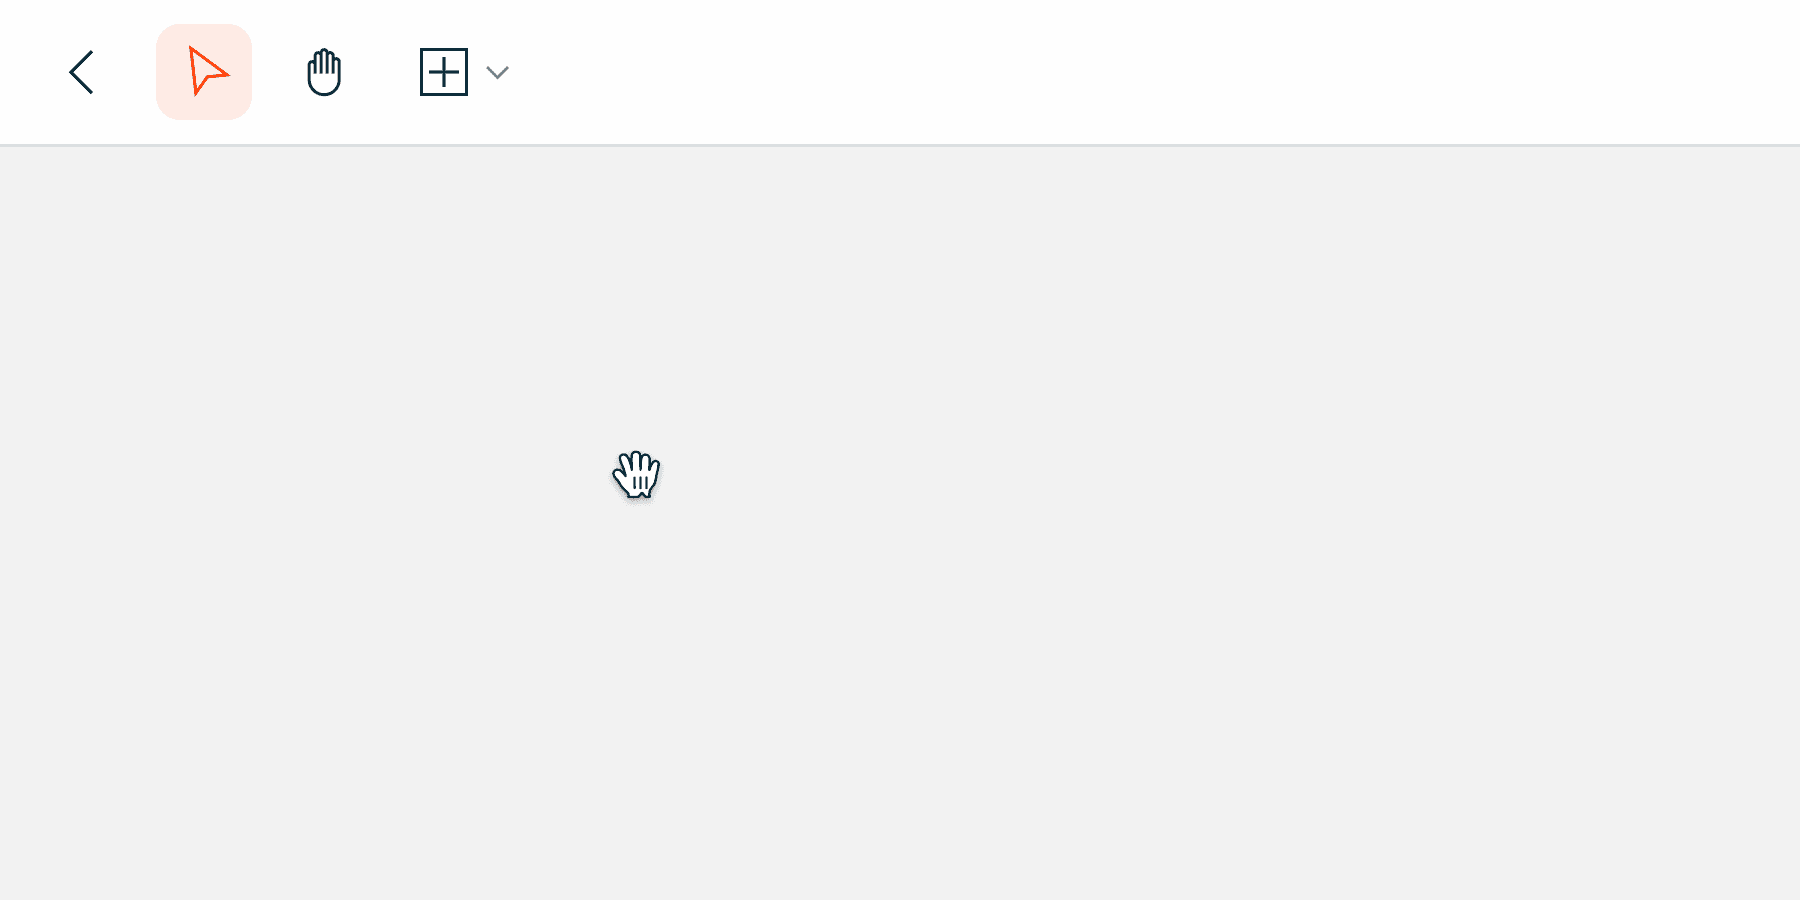
To move across the canvas, known as panning:
Hold
Spaceto temporarily activate the hand tool, then click, hold, and drag.Select the hand tool at the top left of the canvas. Then click, hold, and drag.